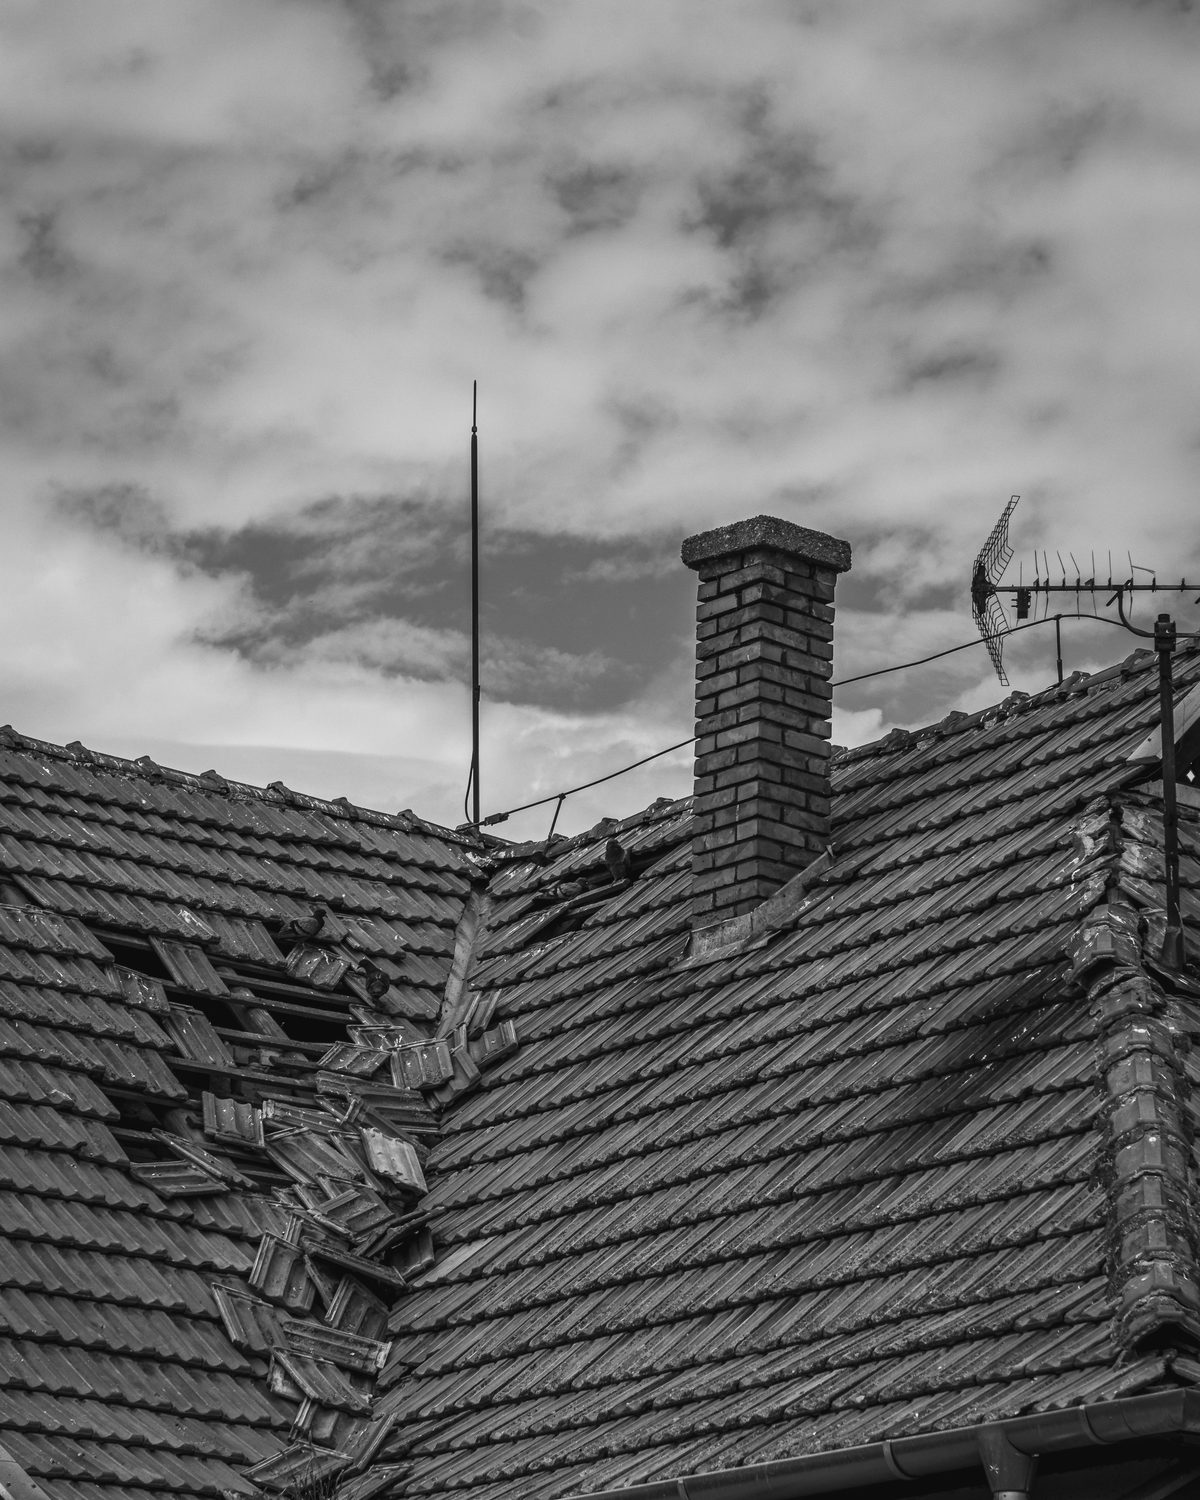
This is a checklist for inspecting a commercial roof after a storm. It is written to be used in the days following, when the priority is to find the damage and record it properly before anything changes.
Work in this order: safety, interior, drainage, perimeter, details, field. The interior comes early because it tells you where to look hardest.
Before you go up
Do not go on a roof while wind is still gusting, and do not go on a roof that may have been structurally damaged. Treat every rooflight as fragile and assume that anything lifted may still be loose.
Take a camera, a numbered roof plan, the last inspection report and something to write on. Note the date, the storm and the conditions on the day.
Inside first
| Look at | What a problem looks like |
|---|---|
| Ceilings throughout, not only below the damage | New stains, growing stains, sagging or fallen tiles |
| Light fittings and electrical equipment | Water near a fitting, which is a safety issue first |
| The deck where visible | Fresh damp, drips, water tracking along a beam |
| Plant rooms and service voids | Trays, buckets, standing water, new damp |
| Stock, equipment and finishes | Water damage that will need its own record |
| What occupants report | Where it dripped, and when it started |
The drainage
| Look at | What a problem looks like |
|---|---|
| Outlets and sumps | Packed with storm debris, water still standing |
| Strainers and domes | Missing, displaced, crushed or blown away |
| Scuppers | Blocked at the throat, damaged flashing |
| Overflows | Blocked, or evidence that one has been running hard |
| Gutters and downpipes | Debris, disconnection, a joint pulled open |
| Where the water discharges | Erosion, pooling, water running against the building |
The perimeter
| Look at | What a problem looks like |
|---|---|
| Edge metal and coping | Lifted, bent, displaced, sections missing entirely |
| Termination bars | Fasteners pulled, a bar lifted along part of its length |
| Membrane at the edge | Peeled back, a corner lifted, a flapping section |
| Ballast | Scoured on the upwind side, piled on the downwind side |
| Parapets and walls | Fresh cracking, displaced coping, staining below a joint |
| Fascias and soffits | Loose, damaged, or pulled away from the structure |
The details and the field
| Look at | What a problem looks like |
|---|---|
| Laps and seams | Opened, lifted, peeled back along a run |
| Fastener lines | Popped or dimpled, which indicates uplift and settlement |
| Punctures and impact marks | Bruising, cuts, holes, often in one part of the roof |
| Rooflights | Cracked, broken, displaced, or impact marked |
| Curbs and flashings | Slipped, lifted at a corner, sealant pulled open |
| Debris on the roof | What it is, where it came from, whether it caused damage |
| Standing water | Where it is now, and the tide mark showing where it was |
The equipment
| Look at | What a problem looks like |
|---|---|
| Units and housings | Moved, tilted, panels blown off, damage to casings |
| Fixings and stands | Loosened, lifted, pads displaced |
| Solar arrays and screens | Modules damaged, frames moved, ballast displaced |
| Signage and antennas | Loose, leaning, or detached from their fixings |
| Cable and pipe runs | Pulled, disconnected, resting on the membrane |
What to do with it
- Photograph before you touch anything. Two minutes now saves a month of argument.
- Walk the interior first. It tells you where to look hardest on the roof.
- Walk the perimeter as a separate pass. This is where storm damage concentrates.
- Record the date, the storm and the conditions. Evidence needs a timestamp.
- Keep receipts for emergency work. Including labor and materials.
- Get a professional inspection for anything structural. A lifted and settled roof looks fine from the field.
Want the reasoning behind these checks? Read what a roof inspection covers and what a report should contain.
Walked by Date Roof
Common questions
How soon after a storm should the roof be checked?
As soon as it is safe to go up, which usually means after the wind has dropped and the roof has drained. Same day is ideal for anything actively letting water in, and within a few days for the full walk, because evidence degrades and so does memory.
- Deal with active water entry immediately, from inside if necessary
- Wait for the wind to drop before anyone goes on the roof
- Walk the full roof within a few days, not a few weeks
- Photograph before any temporary repair is made
- Record the date and the weather conditions on the day
The reason for speed is evidential as much as practical. Debris gets cleared, ponding drains away, temporary repairs cover the original damage, and a month later nobody can separate what the storm did from what was already there. Photographs taken in the first days are the record that settles that question later.
What does storm damage actually look like?
Wind damage shows at the edges and the details: lifted metal, open laps, displaced ballast, missing fasteners. Water damage shows as overloaded or blocked drainage and new interior staining. Impact damage shows as punctures and bruising, usually concentrated in one part of the roof.
- Edge metal lifted, bent or missing sections
- Membrane lifted at a lap or peeled back from a corner
- Ballast scoured from the upwind side and piled downwind
- Punctures and bruising from debris that has since blown away
- New interior staining that was not there before the storm
A useful distinction is between damage that is visible and damage that is merely indicated. A lifted edge is visible. A roof that has been lifted and settled back down is indicated by a line of popped fasteners and nothing else, and it is exactly the kind of finding that gets missed on a quick walk and discovered in the next storm.
What should be photographed, and how?
Everything, twice, before anything is touched. One wide shot that places the damage on the roof with a fixed feature in frame, and one close shot that shows what it is, with something in view that gives a sense of scale.
- Wide to place it, close to show it, every time
- Include a fixed feature so the spot can be found again
- Photograph before any temporary repair is made
- Capture the date from the camera and write it down as well
- Photograph undamaged areas too, for comparison
Photograph the interior at the same time, including stains, trays and anything that has been put under a drip. Those images tie the roof damage to a consequence inside the building, and the connection between the two is what makes a report persuasive rather than merely descriptive when somebody reads it months afterwards. Back the images up the same day to somewhere other than the phone they were taken on, because the record is only useful if it survives the following month.
What should be done before a roofer arrives?
Make the building safe, stop obvious water entry if it can be done without going on a damaged roof, clear what is blocking the drains if that is safe, and record everything. Avoid any repair that covers up the original damage before it has been photographed.
- Protect people and equipment below an active leak first
- Clear blocked outlets only if the roof is safe to walk
- Do not cut, lift or peel anything to investigate
- Photograph before any temporary covering goes on
- Keep receipts for any emergency work carried out
Emergency work is normal and expected after a storm, and nobody is asking a building owner to leave water running into a server room while they take photographs. The sequence matters more than the delay: two minutes of photographs before the tarpaulin goes on preserves an entire month of later argument about what was underneath it. Write down what was done and when, as well as what it cost, so the emergency work has its own short record alongside the damage.
What gets missed most often?
The perimeter, the drainage downstream of the roof, and the interior. Everybody walks the field looking for holes, and the storm damage is usually at the edges, in the outlets that are now packed with debris, and in a ceiling two floors down.
- The full perimeter, walked as a separate pass
- Outlets and scuppers packed with storm debris
- Gutters, downpipes and where the water discharges
- Rooftop equipment, panels and anything that could have moved
- The interior, including areas away from the obvious damage
Water travels inside a build up and inside a building, so a stain can appear a long way from where the water entered. Walk the whole interior rather than only the area under the damage, and talk to whoever works in the building, because they will have seen a drip in a corridor that nobody else has any reason to visit. Walk the ground around the building too, since displaced metal and broken rooflight material often land there and say something about what left the roof.