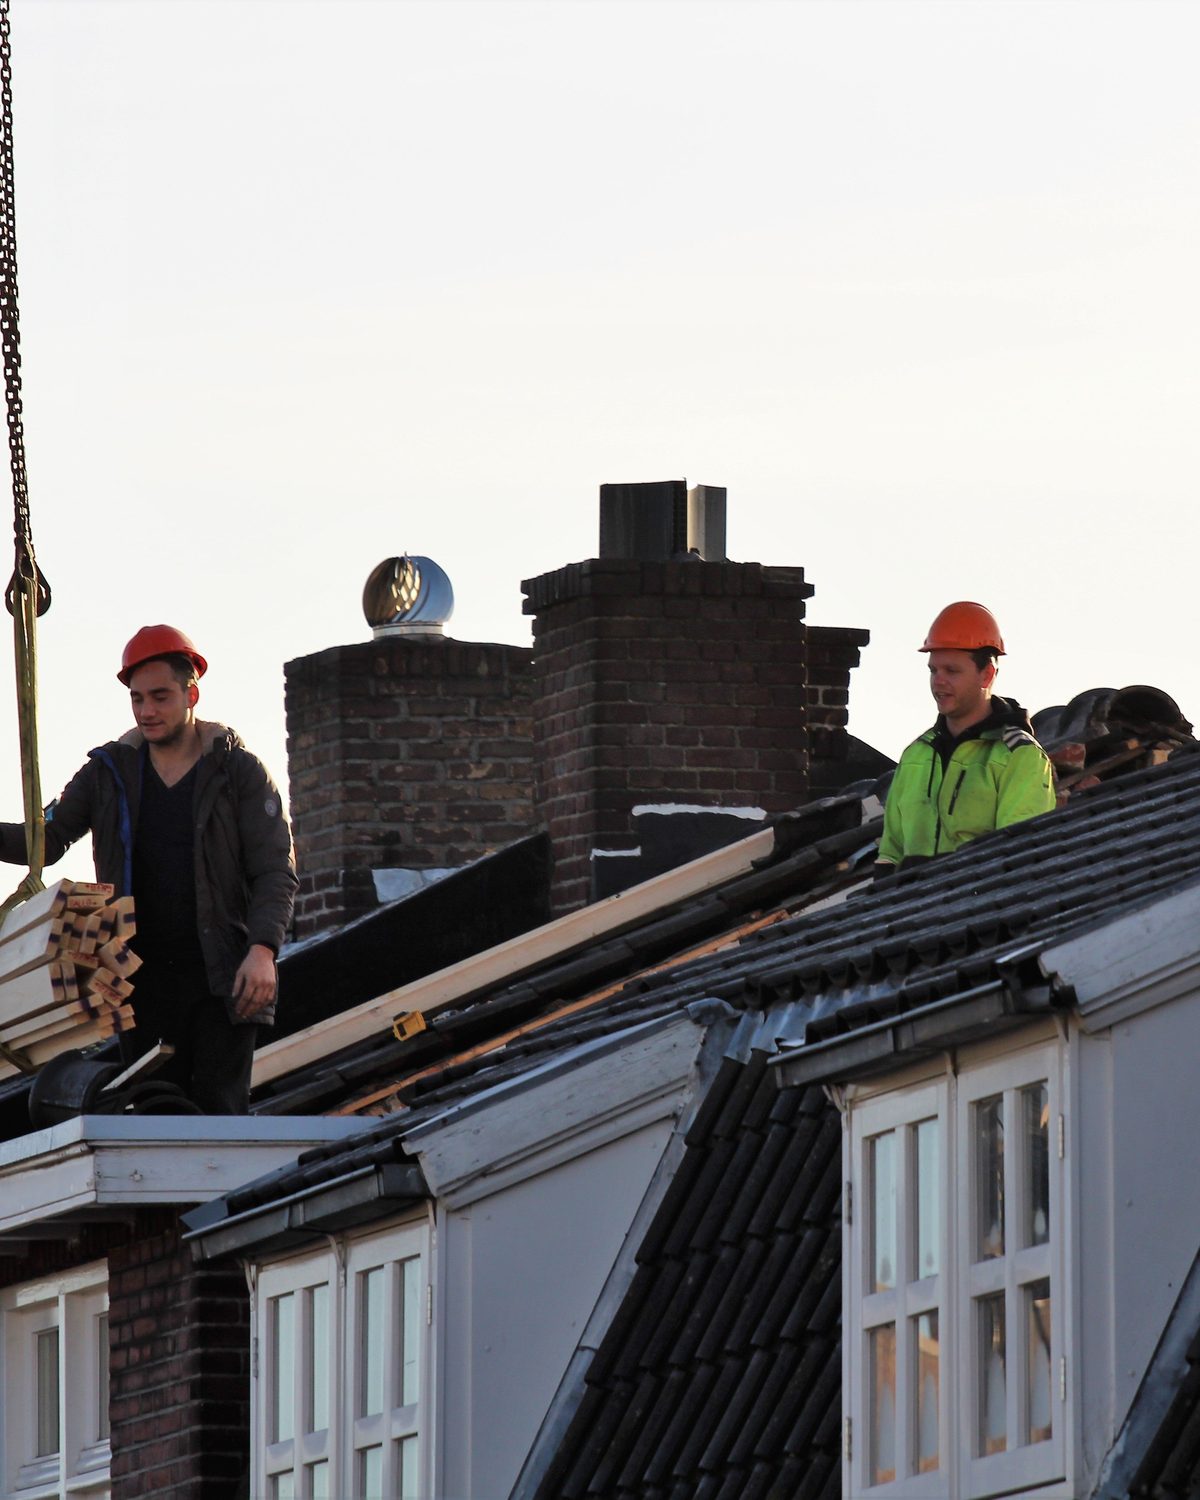
A roof inspection is a sequence, not a glance. The inspector confirms what the building is and how the roof is reached, establishes the roof sections, walks the field of each one, works through the details and terminations, checks the drainage, examines the rooftop equipment, looks at the interior where there is anything to see, and then spends longer writing it up than walking it. If any of those steps is missing, the report will be missing something too.
Knowing the order is useful for two reasons. It lets you prepare the things that otherwise waste a visit, chiefly access. And it gives you a way to judge the report you get back: a document that rates a roof without ever mentioning the perimeter, the drains or what could not be reached has skipped part of the job. What a roof inspection is covers the purpose; this page covers the day.
Before anybody arrives
Three things are settled in advance, and all three change what the inspection is worth.
Access. How the roof is reached, who holds the key, whether a permit is needed, whether a lift or a fall protection plan is required, and the hours when nobody can be on the roof. A visit that arrives to a locked hatch costs you a second visit.
History. Drawings, the age of each roof section, previous reports, repair invoices and warranty documents. Old paperwork answers questions the surface cannot, such as how many roof systems are already on the deck.
The brief. Whether this is a general condition assessment, a response to a leak, a pre purchase review, or evidence for an insurer. The same roof gets looked at differently depending on the answer. Our preparation checklist covers what to have ready.
The walk, pass by pass
| Pass | What is examined | What is being judged |
|---|---|---|
| Layout | Roof sections, ages, boundaries between them | How many separate roofs this building really has |
| Field | Membrane or panel surface, laps, seams, fixings, surfacing | General condition and how far through its life the roof is |
| Details | Perimeter edges, parapets, curbs, pitch pans, penetrations, expansion joints | Workmanship and the places that fail first |
| Drainage | Drains, scuppers, gutters, overflow paths, evidence of standing water | Whether water leaves the roof, and how fast |
| Equipment | Units, ducts, conduit, supports, service walkways | Damage from the people who maintain the plant |
| Interior | Ceilings, deck underside, steelwork, insulation | Where water that got in has actually gone |
What the inspector is reading in each pass
On the field, the signs are cumulative rather than dramatic: shrinkage pulling a membrane away from a corner, splits at a change of direction, blisters, granule loss, open laps, backed out fasteners, crazing on an exposed coating. None of these is a leak yet. Together they place the roof somewhere on a curve, and that position is what a condition rating is meant to express.
At the details, the inspector is looking at craft. A pitch pan filled to the brim and sealed is not the same as one that was formed. A base flashing that terminates behind a counter flashing is not the same as one held on with sealant. Most commercial roofs leak at a detail, and most details were decided by whoever installed them.
On the drainage, the question is simple and the consequences are not. Does water leave? Debris at a drain, a dish in the field, tide marks, vegetation and a blocked overflow all point to water sitting where it should not. Sitting water is heavy, it accelerates every form of deterioration beneath it, and it is the one finding that tends to make everything else on the list worse.
Around the equipment, the inspector separates weathering from traffic. Punctures by a unit, crushed insulation along a service route, cut membrane at a new conduit and sealant smeared over a disturbed flashing are maintenance damage, not roof age, and the remedy is different.
A leak visit runs differently
When the reason for the visit is active water, the sequence changes. The inspector starts inside, at the point where the water appears, and works outward and upward from there rather than beginning with the layout. The aim is to build a short list of candidate entry points, then test them.
That means more time at a handful of details and less across the field. It may mean a water test, where a measured flow is applied to one suspect detail at a time with somebody watching below, because testing two at once tells you nothing about which failed. It may also mean the inspector asks to come back while it is raining.
Expect a narrower document as a result. A leak investigation answers one question well; it is not a condition assessment of the whole roof, and if you need both, say so when you book so the time is priced in.
When testing is added, and why
A surface walk tells you the condition of what can be seen. It cannot tell you how much of the insulation beneath is already wet, and that is often the question that decides between repair, restoration and replacement.
Where the visual evidence raises that question, the inspector may recommend an infrared scan, a moisture meter survey or core samples. Each is a separate piece of work with its own conditions: a scan needs the right thermal window, and a core cuts a hole that has to be repaired properly afterwards. How the methods compare sets out what each one actually detects. Testing should be quoted separately and recommended only when the walk cannot settle the point.
What happens to the parts that cannot be reached
Every honest report has a limitations section. Steep or fragile sections, areas with no safe tie off, roofs behind a locked tenant space and anything the weather made unsafe on the day belong in it by name.
The three acceptable responses are to record the area as not inspected, to return with the equipment that makes it reachable, or to capture it another way with a drone or an extended camera. The unacceptable response is to extend the condition rating from the half that was walked to the half that was not.
After the visit
The write up is the product. Photographs get matched to positions on a roof plan so a contractor can find the thing described and so next year’s report can be set against this one. Each finding gets a sentence about what it is and a sentence about what it means. Each section gets a rating with the observations behind it. Then the repairs get ranked by consequence, which is why a small split about to admit water outranks a larger item that is stable.
Expect a conversation as well as a document. A call that walks you through what was found, what it changes and what to do first is where most of the value lands. What a report should contain is the standard to hold yours against, and the report review checklist is how to read one critically.
Where to go next
If you are choosing who to use, what a roof inspector should know covers credentials and the independence question. If the roof is not leaking and you are weighing whether this is worth doing at all, what an inspection costs and what sets the price is the more useful starting point.
Common questions
In what order does an inspector work across a roof?
Access first, then an overall look to establish the layout and the sections. After that the field of the roof, then the details and terminations, then the drainage, then the rooftop equipment. The interior comes last, where there is anything to see.
- Layout first, so sections are not confused later
- Field of the roof before the details
- Details and terminations, where most failures sit
- Drains, scuppers and overflow paths
- Equipment, curbs and the membrane around them
The order is not arbitrary. Establishing the sections first prevents the common error of rating a building with three roofs of different ages as if it were one roof. Walking the field before the details means the inspector arrives at a flashing already knowing what the general condition is, which changes how a crack there should be read. Leaving equipment until last is deliberate too, because by then the inspector can tell service traffic damage from weathering.
Does the inspector go inside the building as well?
Where there is interior evidence, yes, and it is worth arranging. Stains on a ceiling, a damp deck soffit or rust on steelwork locate water that the roof surface may not reveal, and they tell the inspector where to look harder above.
- Interior staining helps locate the entry point
- Water travels along the deck before it appears below
- Insulation and duct condensation mimic roof leaks
- Access to the underside is not always possible
- Tenanted space needs notice and an escort
The link between a stain inside and a defect outside is rarely directly above it, because water runs along a deck flute, a beam or a conduit until something stops it. That is why an inspector who has seen the inside will often walk a wider area of the roof than the complaint suggested. Where ceilings are sealed or the space is occupied, say so in advance: the inspection still works, and the report should record that the underside could not be viewed.
How much of the roof gets walked, and how much is looked at?
On a commercial inspection, every accessible section should be walked across rather than viewed from a corner or a hatch. Some areas can only be observed: steep slopes, fragile sheeting, roofs with no safe anchor point, and anything the inspector judges unsafe on the day.
- Walked means crossing the field, not standing at the hatch
- Each roof section needs its own assessment
- Fragile or steep areas may be observed only
- Weather on the day changes what is safe
- Any limitation belongs in the report in plain words
Ask what proportion was walked and what was observed, and expect a straight answer. A report that silently covers only the accessible half reads as a clean bill of health for the whole roof, which is the most expensive kind of mistake. Where a section cannot be reached safely, the honest options are to record it as not inspected, to return with the right access equipment, or to use a drone or a camera to get an image of it. All three are better than a guess.
What does the inspector do when the roof is wet or icy?
Most inspectors will not walk a wet membrane, frost, snow or a slick metal panel, and that is the correct call rather than an excuse. Standing water also hides the surface, so some findings genuinely cannot be made until the roof dries.
- Wet single ply and frosted metal are both slip hazards
- Snow cover makes a surface assessment impossible
- Standing water conceals the membrane beneath it
- High wind makes working near an edge unsafe
- Infrared scanning needs its own weather window
There is one useful exception. If the question is where water is getting in, an inspector may want to see the roof while it is raining or just after, because that is when a path becomes visible. That is a different visit from a condition assessment and should be agreed as such. For the ordinary annual walk, a postponement that costs you a week is cheaper than a report written around conditions that stopped half the roof being seen.
What happens between the visit and the report arriving?
The photographs are sorted and tied to locations on a roof plan, each finding is written up with what was seen and what it implies, conditions are rated by section, and the repairs are ranked. That work takes longer than the visit on most buildings.
- Photographs matched to positions on a plan
- Each finding described, not just listed
- A condition rating per section with reasoning
- Repairs ranked by consequence, not by cost
- A statement of what could not be inspected
Ask for the turnaround in writing when you book, and ask whether a verbal summary comes first. On a building where something urgent was found, a call the same day followed by the written report later is the sensible sequence, and most firms will do it. When the report arrives, read the limitations section before the findings: it tells you how much of the roof the conclusions actually cover, which is the context every other sentence depends on.